How to Remove Bobbles and Mend Your Winter Knitwear
Your favourite winter jumper can look tired long before it is ready to leave your wardrobe. A scatter of bobbles, a loose seam or a tiny hole often needs a careful half hour at the table. In January, when knitwear is doing daily duty, a little attention can make the pieces you already love feel good to wear again.
Read the Label and Examine the Whole Jumper
Lay the jumper on a clean, well-lit surface and check its fibre label and care instructions. Wool, cashmere, cotton and synthetic blends can behave differently, and a blend does not automatically share the care requirements of its largest ingredient. Use the garment’s own instructions to guide washing and tool choices.
Look closely at the cuffs, underarms, side seams and areas rubbed by a bag strap. Pilling happens when loose fibres become tangled into small balls on the surface. It does not, by itself, tell you everything about the quality of the jumper. Friction, fibre characteristics and how you wear the garment all contribute.
Distinguish surface bobbles from damage before picking up a tool. A raised loop may still be part of the knitted structure; cutting it could create a hole. Thin patches need reinforcement rather than enthusiastic shaving, while a seam that has opened requires a different repair from a hole in the fabric.
- Set aside jumpers with loose stitches for mending before cleaning.
- Check whether fluffy texture is intentional before removing surface fibres.
- Find any spare yarn supplied with the garment.
- Work on one small area at a time so you can assess the result.
Choose a Gentle Method for Removing Bobbles
For a few isolated pills on a sturdy knit, you may be able to lift them away gently with your fingers while supporting the fabric beneath. Stop if you feel the surrounding yarn pulling. Tugging hard at a stubborn bobble can draw more fibres from the garment and leave the area thinner.
A knitwear comb can help with some close-knit fabrics when its instructions identify them as suitable. Use short, light strokes and avoid raking repeatedly over one patch. Different comb surfaces vary in how aggressively they catch fibres, so a tool that works on a robust jumper may be too harsh for a fine cardigan.
A fabric shaver can be useful on suitable flat knits. Lay the material smooth, select the most protective setting available and skim lightly without pressure. Keep well away from seams, ribbed edges, loose loops and holes. Empty the collection compartment as directed so you can continue with a clear view of the area.
Removing pills takes fibres away; it cannot restore worn fabric. Aim for a tidy surface rather than a completely new appearance. Brushed, hairy, open or decorative knits may be better left with their texture intact, especially where a cutting tool could catch more than the unwanted bobble.

Test Your Tool on a Hidden Area
Before working across the front, choose a small, inconspicuous area with the same knit structure, such as a lower side section. An inside seam allowance may behave differently from the main fabric, so it is not always a useful test. Make sure the jumper is dry and supported flat.
Use one or two light passes, then stop and inspect the result in good light. Compare the treated patch with the surrounding surface. You are checking for pulled loops, exposed thinness, altered texture or a change in the way the fabric reflects light, as well as whether the bobbles have gone.
Let the test set the pace
If the surface looks smooth and sound, continue in small sections with the same pressure. Support the fabric without stretching it taut, and pause frequently to check your work. Do not increase pressure simply because some pills remain. They may be too closely attached for that method to remove gently.
If the tool catches, switch it off before releasing the fabric and inspect the area for damage. Stop using that method on the garment. A few remaining bobbles are easier to live with than a fresh hole, and the test has done its job by revealing the mismatch early.
Mend a Small Hole with Compatible Yarn
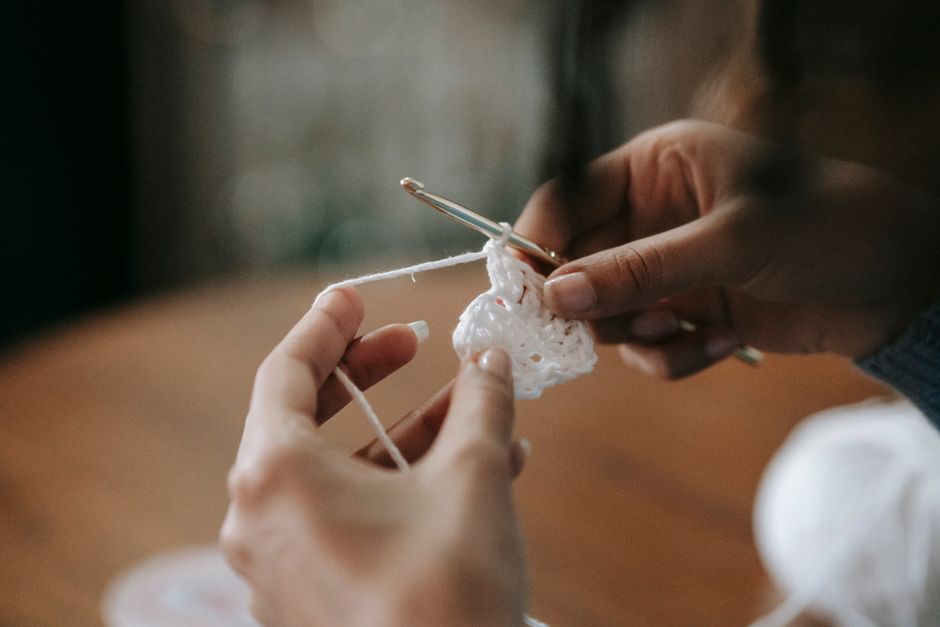
For a small hole in an otherwise sound area, gather a blunt darning needle, scissors and yarn close to the original in thickness, fibre and colour. Matching colour helps the repair blend in; similar thickness and stretch help it move with the jumper. Very thick yarn can create a stiff lump on a fine knit.
Place a darning mushroom or another smooth, rounded support behind the hole. The fabric should rest on it in its normal shape, without being stretched. Work beyond the damaged edge into sound knitting, because stitches placed only in weakened fibres may pull loose.
- Leave a short yarn tail to weave in later rather than making a bulky knot.
- Catch accessible loose loops around the hole gently so they cannot unravel further.
- Lay parallel strands across the opening, anchoring each in sound fabric on either side.
- Weave across those strands, alternating over and under to form a small patch.
- Keep the tension relaxed, then weave both tails through the repair on the inside.
Remove the support and check that the area lies comfortably without puckering. This basic woven darn will usually remain visible close up. If the problem is an open seam and the fabric edges are intact, bring those edges together with small stitches following the original seam instead. A pulled loop should be eased towards the inside with a blunt tool, never snipped off.
Wash and Dry Without Pulling the Shape
Repair loose stitches first, then follow the care label for cleaning. Where hand washing is permitted, use the recommended water temperature and an appropriate detergent, dissolving it before adding the jumper. Support the garment in the water and move it gently. Scrubbing and vigorous agitation can distort or felt susceptible wool.
Rinse gently in water at a similar temperature, avoiding sudden changes. If machine washing is allowed, use the specified programme and suitable spin setting rather than assuming every wool-labelled cycle is right for every garment. Keep items with zips or other catching surfaces away from delicate knits.
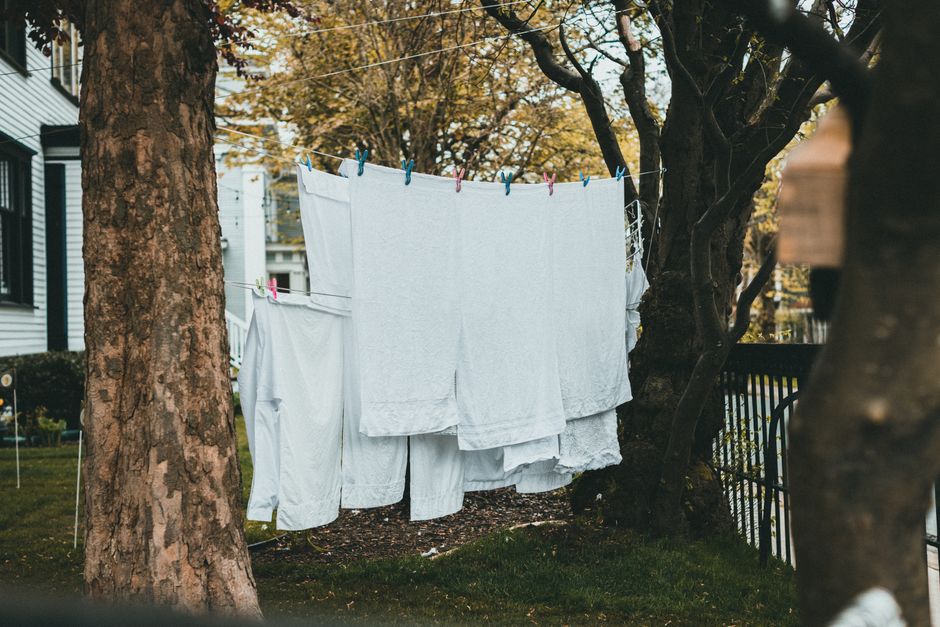
Lift wet knitwear with both hands supporting its weight. Press out excess water without wringing, then roll it in a clean towel and press again. Transfer it to a fresh dry towel or a suitable flat drying surface with air circulation. Smooth it into its natural outline, aligning seams and easing cuffs into shape without pulling.
Keep it away from direct heat and do not drape it over a radiator or hang it from the shoulders. Turn it carefully as needed and replace a damp towel to help drying along. Thick cuffs and necklines may stay damp after the body feels dry, so check those before folding it away.
Store Jumpers Where They Will Not Catch
Fold dry jumpers loosely rather than hanging heavy knits, which can stretch at the shoulders. Leave enough space in the drawer that you can take one out without dragging it across buttons, jewellery or rough basket edges. Fasten neighbouring garments with hooks and zips before putting them away.
Between wears, air a jumper somewhere dry and check for spills, snags and fresh wear. Rotating the pieces you reach for gives each one time to air and makes it easier to notice a small problem before it spreads. For longer storage, put knitwear away clean and fully dry in a suitable closed container, and check it periodically for damage or pest activity.
Keep your needle, spare yarn and chosen care tool together so the next small repair is easy to start. You do not need to refresh every jumper in one afternoon. One careful mend and a gentle surface tidy can put a much-loved winter layer straight back into regular use.