How to Wear Berry Lipstick with a Clean, Defined Edge
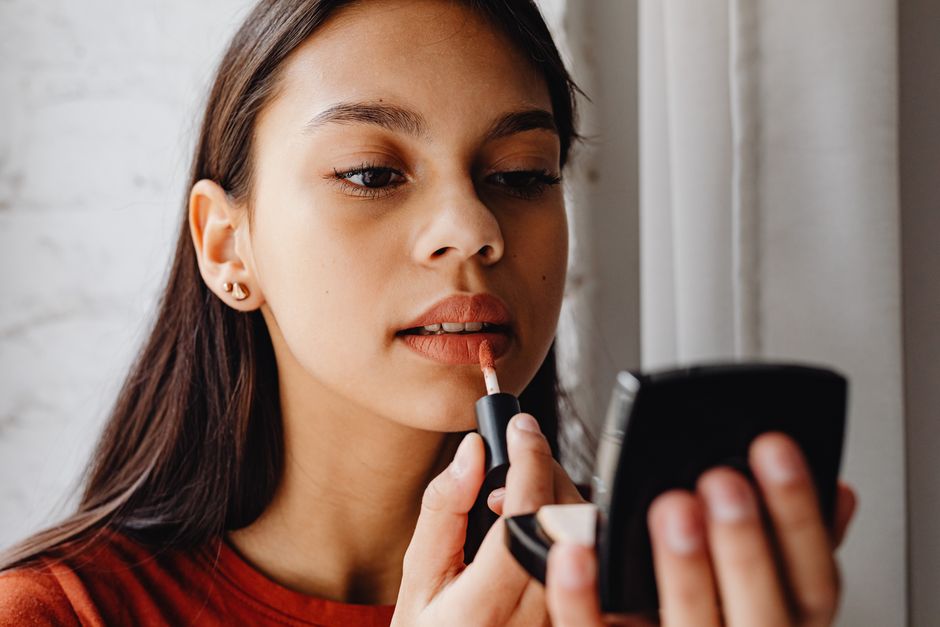
Berry lipstick can make a simple November dinner outfit feel dressed up before you have chosen your earrings. The trick to a defined edge is controlling how much colour reaches the border of your lips. Set up a mirror with good light, give yourself a few unhurried minutes and work in thin layers you can adjust as you go.
Choose a Berry Depth You Feel Comfortable Wearing
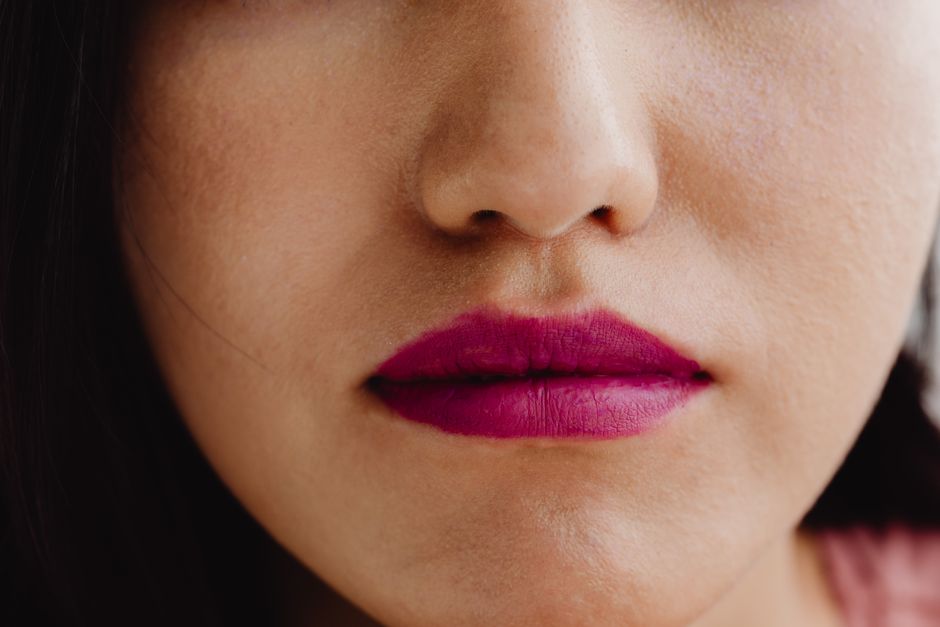
Berry covers quite a range, from soft raspberry to dark plum and brownish blackberry. Start with the effect you want when you look at your whole face. If deep lipstick is unfamiliar, a medium raspberry may feel easier to wear than a very dark purple, while still giving you a clear change from your everyday shade.
Pay attention to the finish as well as the colour. A creamy satin can be easy to move with a brush; a very slippery formula may need more care at the edges. A matte texture can look precise but will still reveal uneven application. Choose something that feels comfortable when you speak and smile rather than assuming the driest option must be the neatest.
Try the shade with the rest of your planned makeup before the evening itself. A bold mouth may prompt you to soften your blush or eye makeup, but there is no compulsory balance to follow. The useful question is whether you like the complete effect in ordinary light.
Keep the lipstick, a suitable pencil, a small lip brush and a tissue together. Having the tools within reach makes careful application much less fiddly.
Prepare a Smooth Surface Without Scrubbing
Begin with clean lips and remove any traces of previous colour. If your lips feel dry, apply a little of a balm you already enjoy while you do the rest of your makeup. Before using pencil, blot away excess so the surface feels comfortable without being glossy or slippery.
Do not try to scrub away every visible flake immediately before applying a deep shade. Repeated rubbing can leave the surface less comfortable and make an even finish harder. Leave attached skin alone. If a patch remains rough, a softer application of your berry colour may look better that evening than several heavy layers.
Check the corners too
Colour can collect where your lips meet at the sides, especially if balm remains there. Gently blot those areas and look at them with your mouth relaxed. You are preparing a small, workable surface, not trying to make your lips completely dry.
Position the mirror so you can see without leaning awkwardly over the basin. Light from the front helps you judge both sides evenly; strong light from only one side can hide an untidy edge. Keep a second clean brush nearby for corrections, so you do not use a colour-loaded tool to tidy a smudge.
Trace the Lip Edge with a Suitable Pencil
Choose a pencil close to the lipstick shade, or close to your natural lip colour if it blends comfortably with the berry. A much darker pencil creates a separate outline unless you deliberately soften it inwards. For this defined, even look, the pencil and lipstick should meet without an obvious dividing line.
Sharpen the pencil enough to make controlled marks, then soften an unusually sharp tip with a light stroke on the back of your clean hand. Hold it gently. You want short strokes that sit on the lip border without pulling the skin.
- Mark the two peaks of your upper lip lightly, following their natural shape.
- Add a short guide at the centre of your lower lip.
- Join these points towards the corners with small strokes, pausing to compare both sides.
- Shade just inside the outline so there is no abrupt rim of pencil.
Keep your mouth relaxed while checking the shape. Stretching your lips into a broad smile changes the surface you are drawing on. You do not need to make naturally different sides identical; follow the border you have and correct only marks that have wandered beyond it.
Build Colour from the Centre Outwards
Apply a small amount of lipstick to the central part of your lips first. You can use the bullet there, then pick up a little colour with the lip brush for the edges. Starting away from the border gives you room to distribute the product without immediately creating a dark mark outside the line.
Use the brush to move the colour towards the pencil in short strokes. Turn the brush so its narrow edge follows the curve of your lip. Work on one small area at a time, checking the overall shape between strokes rather than repeatedly tracing the whole mouth.
Part your lips slightly to reach the corners, using very little product. Avoid carrying colour far into the wet inner part of your mouth, where it is more likely to transfer. Close your lips gently, then reopen them to see whether the coverage is even.
Blot once with a tissue held lightly between your lips, without rubbing sideways. Add a second thin layer only where you want more depth. Two controlled passes are easier to tidy than one thick coat. Before moving on, check your teeth and the inner edge for transferred colour.
Tidy the Border with a Small Brush
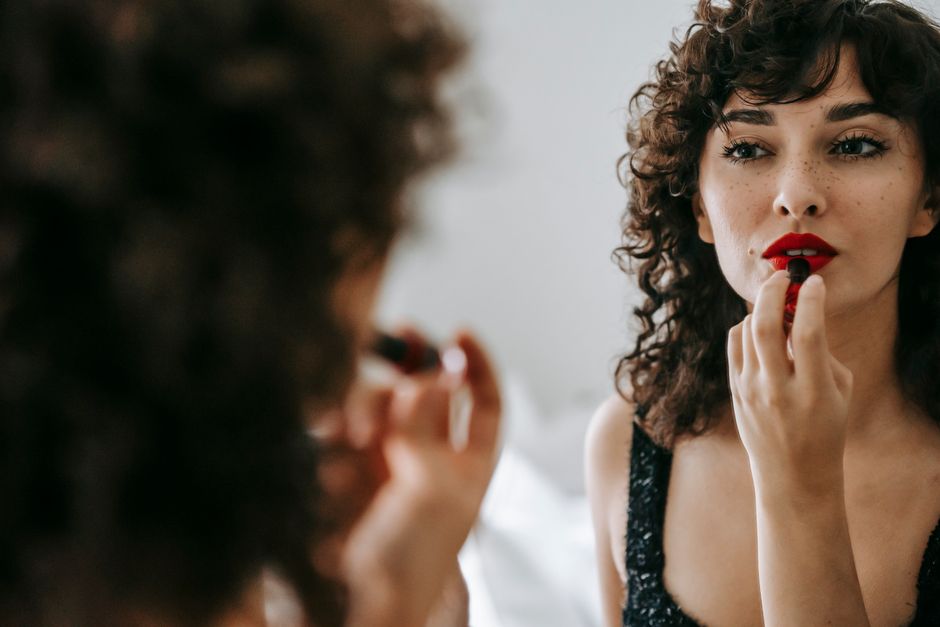
Step back from the mirror first. Tiny differences become exaggerated when you inspect your mouth from a few centimetres away. Identify the actual smudge or uneven section, then work on that spot rather than redrawing every edge in pursuit of perfect symmetry.
Use a clean, small brush to lift a fresh mark just outside the lip line. Wipe the brush between passes so you do not spread the pigment. If the mark needs remover, use the smallest amount on a precise tool, then remove any residue and let the area dry before repairing the border.
A little of your usual complexion product can restore the skin around a corrected patch. Keep it sheer and close to your skin tone; a thick pale ring around the mouth makes the cleanup more visible. Use a separate brush for this step, and blend away from the lip without disturbing its edge.
If one corner becomes overloaded, remove the colour from that small area and rebuild it lightly. Adding more pencil over a smudge usually gives you a larger smudge. Finish by looking straight ahead with your mouth relaxed, then smile and check again.
Plan Simple Touch-Ups After Eating
Pack the lipstick, pencil and a tissue in your evening bag, adding the brush if you prefer it for control. Before refreshing the colour, check what has actually worn away. The centre may need attention while the outline remains perfectly usable.
After eating, blot gently to remove moisture or traces of food. Reapply a small amount to the worn area and blend it into the colour that is still there. Repeatedly coating the whole mouth can leave a thick outer border and an uneven centre.
If the finish has become patchy throughout, take a moment to remove it and start again with a lighter layer. There is no prize for preserving a base that no longer looks or feels good. A berry lip should leave you free to enjoy your dinner, with a quick mirror check enough to get you back to the conversation.