
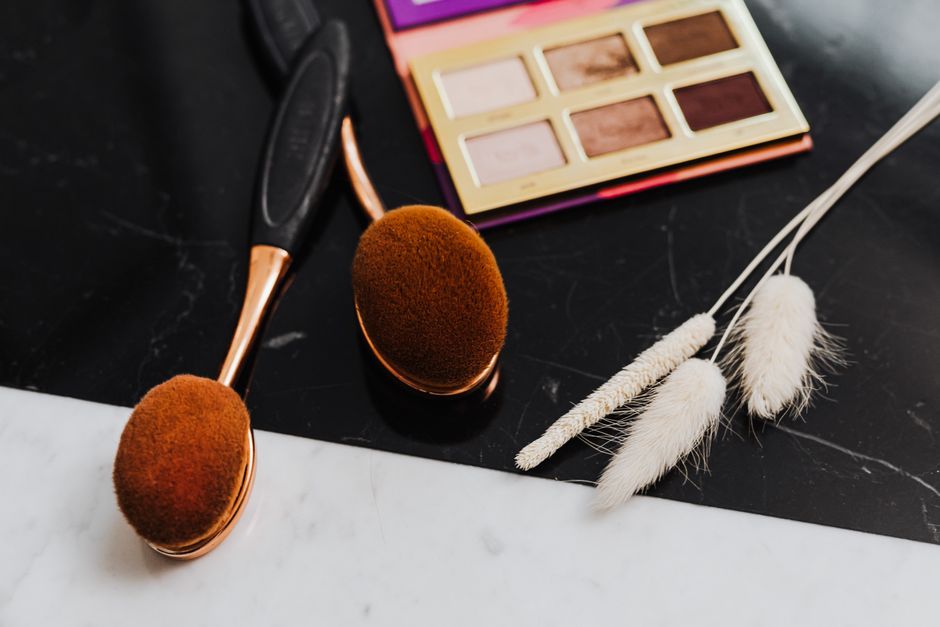
How to Clean Makeup Brushes and Dry Them Properly
The foundation brush that leaves streaks and the powder brush that feels heavy may both be ready for a wash. A spring tidy of your dressing table is a useful moment to clean your everyday tools, check their condition and give them somewhere better to dry. You only need a gentle cleanser, lukewarm water and a little space you can leave undisturbed.
Sort Brushes by Use and Condition
Lay your brushes on a clean towel and separate them by what they apply. Put liquid foundation and cream blush brushes together, powder brushes in another group, and small eye brushes to one side. Product tends to collect differently in each, so this helps you decide where to spend your time.
Before wetting anything, inspect the bristles and the metal collar that holds them, called the ferrule. Check for a loose handle, a sharp edge, persistent shedding or bristles that have become rough and misshapen. Washing can remove build-up, but it cannot repair a failing attachment.
Give retractable brushes, double-ended tools and unusually shaped handles their own space. Their drying arrangements may need more thought than a standard brush. Check the maker’s care instructions if you still have them, especially for natural hair or specialist tools.
This is also your chance to separate the brushes you actually use from the ones occupying the cup. Keep a small everyday set within reach and store clean occasional brushes separately. Fewer tools crowded together make it easier to notice when one needs attention.
Choose a Suitable Gentle Cleanser
A brush cleanser intended for washing bristles is a straightforward choice. If your brush’s care instructions allow a mild liquid soap, use a small amount rather than a generous squeeze. You are trying to lift makeup and rinse it away, not build a sink full of foam.
Skip household surface cleaners and improvised mixtures involving bleach or solvents. Heavy oils and rich hair conditioners can also leave a coating that changes how a brush picks up powder. A product that feels luxurious on hair is not automatically useful for a makeup tool.
Set up before turning on the tap
- Clear a clean area beside the basin for washed brushes.
- Put out your cleanser and a fresh absorbent towel.
- Make room elsewhere for brushes to dry with air around their heads.
- Keep dirty tools separate from those you have finished washing.
Use lukewarm water that feels comfortable on your hands. Very hot water adds nothing helpful to the job. Wash your hands first, too, so you are handling freshly cleaned bristles with clean fingers from the beginning.
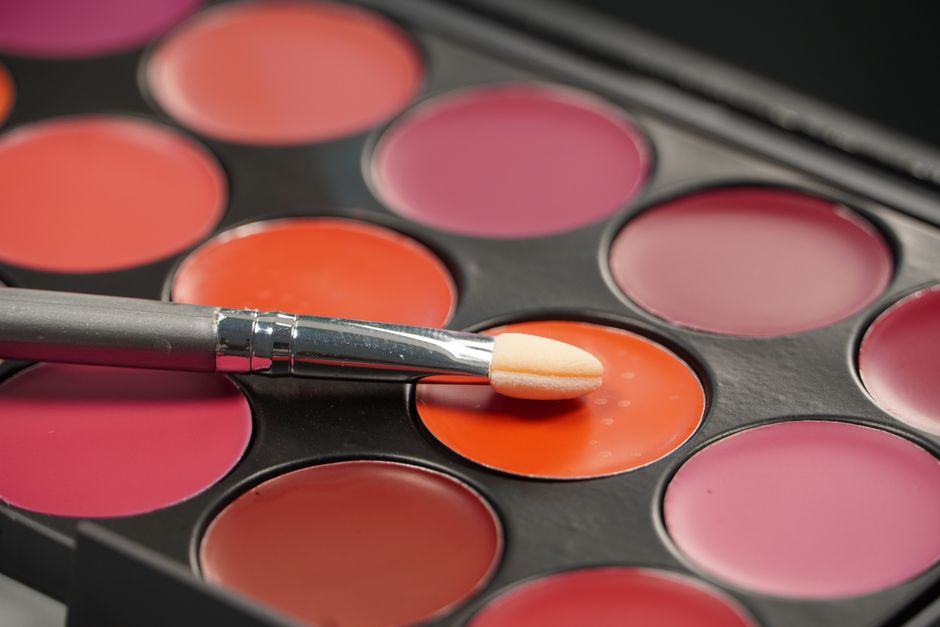
Wash Bristles Without Soaking the Handles
Hold the first brush with its bristles pointing down and wet the hair under a gentle stream. Keep the flow away from the join between the ferrule and handle. Repeatedly soaking that area can weaken the attachment, so a bowl of submerged brushes is best avoided.
Add a small dab of cleanser to your palm or a clean brush-washing mat. Move the damp bristles across it with light strokes, following the shape of the brush. For a round head, small gentle circles work well; for a flat brush, use soft back-and-forth passes without bending the hairs sharply.
Work the cleanser through the outer and inner bristles with your fingertips if the head is dense. Avoid pulling at the hairs or crushing the brush against the mat. The aim is to loosen the makeup while keeping the original shape intact.
A foundation brush may need a second brief wash after the first rinse. Give stubborn areas another small amount of cleanser rather than scrubbing harder. Clean one brush at a time so you can control where the water goes, and keep the handles out of any puddles beside the basin.
Rinse Until the Water Runs Clear
Return the bristles to the gentle stream, still pointing down. Turn the brush slowly so water reaches different sides, and lightly separate dense sections with your fingers. Makeup trapped near the middle can survive a quick rinse of the surface.
Check both the water and the feel of the bristles. You want no remaining foam, visible makeup residue or slippery cleanser coating. Some brushes retain a stain from strongly coloured products; a lingering tint alone does not mean you should keep washing indefinitely.
For a compact cream-product brush, press the wet head gently between your fingers and release it while rinsing. This helps you see whether cloudy water is still emerging from the centre. Repeat a short wash only if residue remains, then rinse thoroughly again.
Once the brush is clean, gently squeeze water from the base of the bristles towards the tips. Do not twist the head like a cloth. Lay it on your towel and press lightly to blot away moisture. Wipe the handle with a barely damp cloth, then dry it, paying attention to the area where makeup gathers around your grip.
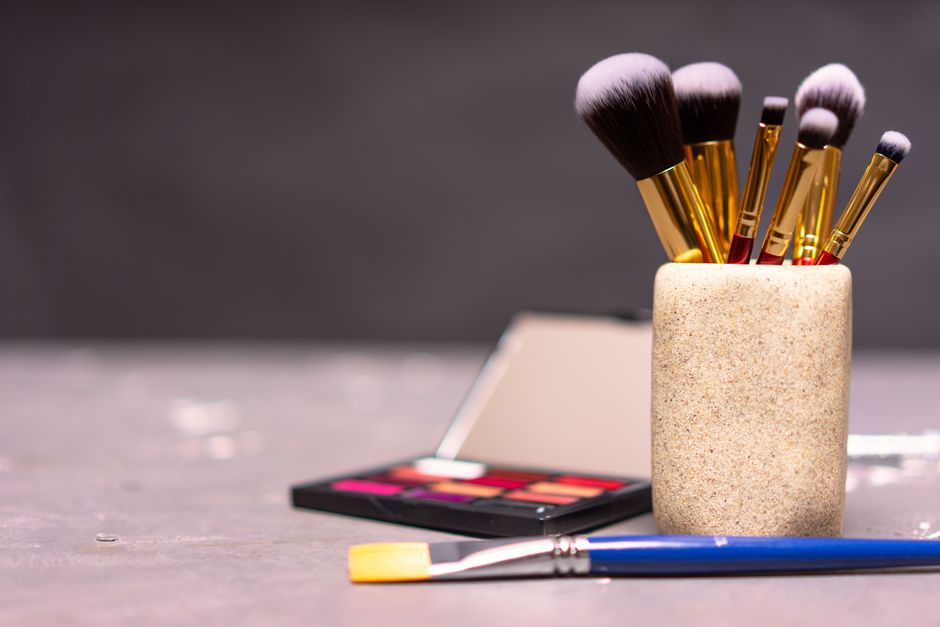
Dry Brushes with Air Around the Bristles
Reshape each head while it is damp, guiding the hairs back into their usual outline. Lay the handles flat on a clean, dry towel with the bristles extending just beyond the edge of a stable counter or table. Make sure the brushes cannot roll off or be knocked down.
This gives the head air underneath as well as above. Leave a little space between brushes, and replace a towel that becomes wet. Avoid putting the tools upright in a cup while damp, where water can travel towards the ferrule and the crowded heads dry unevenly.
Choose a ventilated spot away from direct heat. A radiator or hot hairdryer can be tempting when you want a brush back quickly, but patient air-drying is kinder to the tool. A humid bathroom may be less useful than a dry room where the brushes can remain undisturbed.
Check the centre before putting them away
Small eye brushes may dry sooner than dense face brushes. Leave enough time for the thickest head, often overnight or longer, and gently feel inside the bristles before storing it. If the centre still feels damp, give it more time. Plan washing for an evening when you will not need the whole set early the next morning.
Clean the Storage Cup and Set a Schedule
Empty the cup, tray or pouch that holds your brushes. Remove loose powder and hair, then clean it in a way that suits its material. A washable ceramic cup can be washed and dried thoroughly; a fabric pouch needs its own care instructions followed. Clean brushes deserve a clean place to land.
Store fully dry brushes without squeezing their heads against a lid or neighbouring tools. Keep your everyday cup away from splashes, and avoid dropping a damp sponge among dry bristles. Let each item finish drying before it goes into enclosed storage.
Set a weekly washing reminder for regularly used brushes, and clean tools carrying visible cream or liquid build-up sooner. If you switch eye colours frequently, keep a clean spare ready rather than relying on wiping the same brush indefinitely.
Finish by putting your small everyday set back within easy reach. Once the washing and drying space is familiar, the routine becomes much less of an event. Your next makeup session can start with soft, clean tools instead of yesterday’s product.