
How to Stop Mascara Smudging on Humid Summer Days
Your mascara can look beautifully neat at breakfast and leave a grey shadow beneath your eyes by lunchtime. On humid July days, warmth, moisture and the products around your eyes can all affect how it wears. Finding the source of the mark gives you a better starting point than adding more powder or another coat of mascara.
Work Out Where the Smudges Begin
Look closely at the marks before removing them. A dark crescent beneath your eye may come from lower lashes touching the skin, while tiny dots above the crease can appear where upper lashes meet the lid. Dry specks suggest flaking, which needs a different adjustment from a soft, oily-looking smear.
On a day when you have time to notice, check your makeup after application, after your journey and later in the afternoon. You are looking for the first change rather than the final mess. If there are dots immediately after applying, the wand may simply be touching the skin while the formula is still wet.
Keep the rest of your routine familiar while testing one change. Try less mascara on the lower lashes one day, for example, without also replacing your eye cream and concealer. That makes it easier to see which adjustment helped.
- Marks above the eye: check where freshly coated lashes touch your lid.
- Soft shadows below: look at lower lashes and creamy products beneath them.
- Small dry crumbs: examine product buildup and how the formula feels.
- Immediate streaks: give the application more space and drying time.
Remember that eyeliner or a dark eyeshadow can also migrate. On one test day, wear mascara without those products so you can identify what you are actually trying to fix.
Let Eye-Area Products Set Before Makeup
Rich cream sitting on the surface can make it harder for makeup to stay where you put it. Apply your usual skincare, then give it time to settle while you get dressed or do your hair. You want the skin around your eyes to feel comfortable without an obvious slippery layer.
Use eye-area products as directed and keep them away from the lash roots unless they are intended for that area. If you have applied more cream than the skin can comfortably take, gently blot visible excess with a clean tissue. There is no need to scrub the area dry.
Apply sunscreen according to its instructions and allow it to set before makeup. Avoid reducing your sun protection simply to improve mascara wear; work on the mascara formula and placement instead. Some combinations of products sit together more neatly than others.
Keep the makeup underneath light
If you wear concealer, use a thin layer where you need coverage and blend the edges. A thick, creamy band directly beneath the lashes gives mascara more opportunity to transfer. Where powder suits your skin, a light touch can take down surface tackiness, but repeated heavy layers can make the area look dry and textured.
Before opening the mascara, check that lashes are free from residue left by a cleansing balm or oily remover. Start with clean, dry lashes and a settled base.

Compare Tubing and Waterproof Formulas
Changing formula can help when careful preparation is not enough, but the label should match the problem you are seeing. Tubing mascaras form a coating around the lashes and commonly remove with warm water and gentle pressure, according to the product instructions. Many people find that format useful when ordinary mascara transfers beneath their eyes.
Waterproof mascara is designed to resist water, making it a possible choice when moisture is the main issue. However, resistance to water does not guarantee resistance to oily skincare or sebum. A waterproof formula can still smudge on you, and its removal may require a suitable eye-makeup remover.
Read the actual removal directions rather than relying only on front-of-pack wording. Descriptions such as long-wearing and water-resistant do not all mean the same thing. Choose a product whose evening removal routine you are willing to follow, as well as a finish you enjoy in daylight.
Test a new mascara on an ordinary day before using it for a wedding or a long outdoor event. Apply your usual amount and see how it behaves with your own skincare and lashes. Keep track of when you opened it, follow its replacement guidance and replace a product that has changed in smell or texture.
Build Thin Coats and Remove Excess First
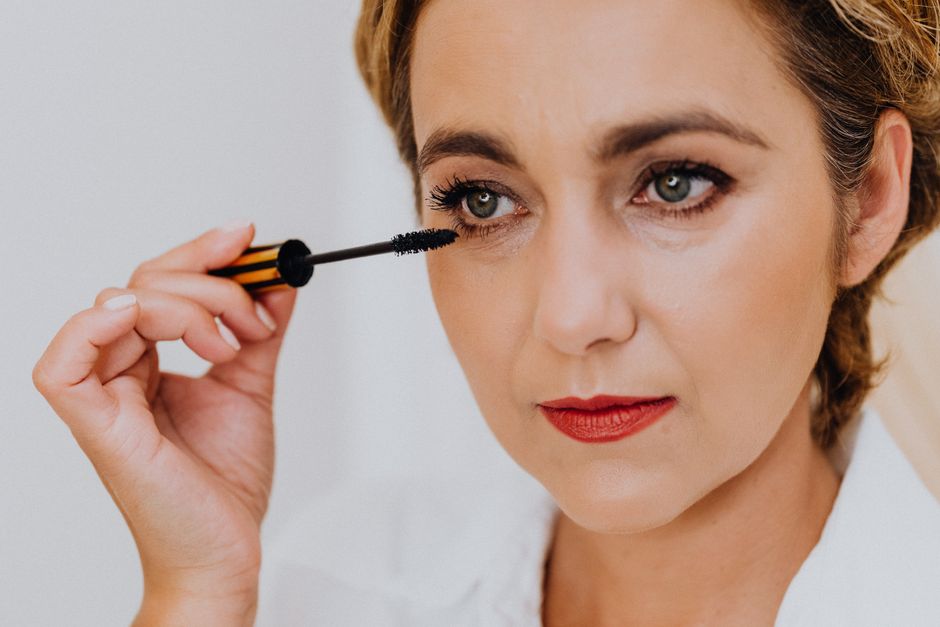
A heavily loaded wand makes it easy to deposit more product than your lashes can hold neatly. Before applying, remove obvious excess from the brush at the tube opening, particularly the blob that can collect on the tip. Avoid pumping the wand in and out repeatedly.
- Position your mirror so you can see the lash line without pressing the brush against your lid.
- Apply one light coat, guiding the wand from near the roots towards the tips.
- Use the remaining product on the brush for smaller outer and inner lashes.
- Add a second thin coat only if needed, following the formula’s application directions.
Keep your eyes relaxed while the mascara sets and avoid squeezing them shut immediately. If the upper lashes touch your lids, looking slightly down for a moment can help you keep the freshly coated tips clear of the skin.
Separate a visible clump carefully with a clean lash comb while the product is still workable. Do this slowly, away from the eye itself. Once mascara has fully dried, repeatedly dragging a brush through it can create flakes instead of improving the finish.
For an accidental dot on the skin, let it dry and lift it gently with a clean cotton bud. Rubbing a wet dot usually spreads it over a larger area.
Give Lower Lashes a Lighter Treatment
Lower lashes sit close to the area where concealer, warmth and movement meet. If that is where your smudges begin, try using only the small amount left on the wand after finishing the upper lashes. You may get enough definition without a fresh, heavy coating.
Keep the brush movements small and avoid touching the skin beneath the lashes. Concentrate on the lashes you can reach comfortably rather than trying to darken every tiny hair. A smaller brush may give you more control if your usual wand feels oversized in that space.
You can also leave lower lashes bare. Try it with your usual makeup before deciding whether you need anything else; defined upper lashes may already give you the look you want. If you miss the balance, add a very light lower coat on another day and compare the result.
For a daytime touch-up, lift away the transferred colour gently with a clean bud and tidy only the affected area. Piling fresh mascara over an old, clumpy coat often adds weight without resolving the reason it moved.
Remove It Gently Before Bed
Match your removal method to the formula. For a tubing mascara, follow the instructions for warm water and gentle release; the little strands coming away can be the coating itself. For waterproof mascara, use a remover intended for that kind of eye makeup and allow it time to loosen the product.
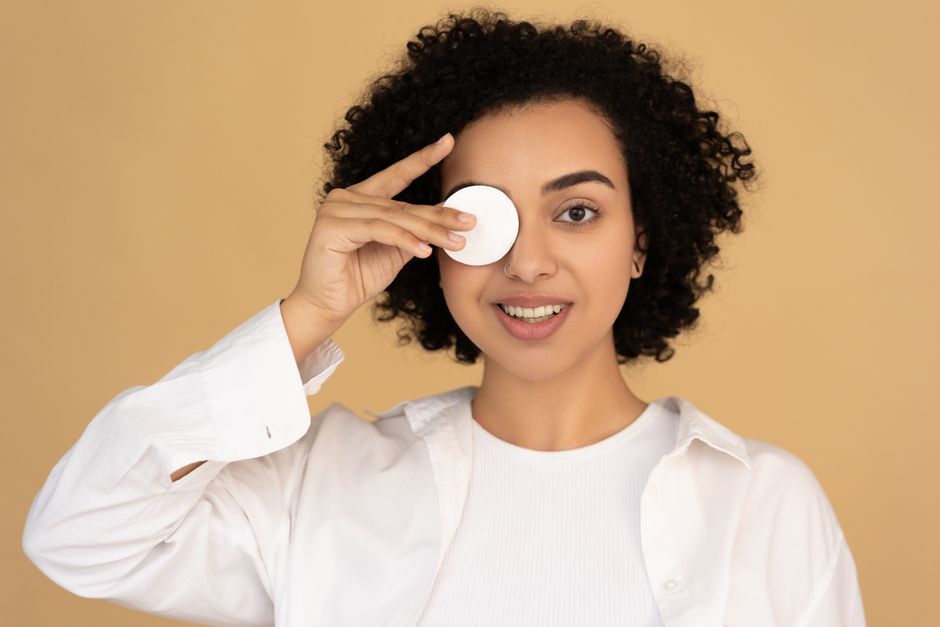
Hold a suitably dampened soft pad over your closed eye for a short pause, then wipe gently as directed. Use a clean section for the next pass rather than rubbing the same dark patch back across your skin. Avoid pulling at the lashes or trying to scrape away stubborn residue.
Finish with your usual gentle cleanse and check that the lash line feels clean. Tomorrow, repeat the single adjustment that made the clearest difference. A reliable summer mascara routine often comes down to a settled base, a suitable formula and a lighter hand with the wand.