An At-Home Pedicure for Sandal Season Without Gel Polish
A tidy pedicure can make your everyday sandals feel a little more considered, even when the rest of your August outfit is wonderfully simple. Regular nail polish gives you plenty of colour choices without a lamp or gel removal. Set aside an unhurried stretch at home, with the washing and tidying finished before you open the bottle.
Prepare a Clean Set of Pedicure Tools
Choose a seat that lets you reach your feet without balancing awkwardly, and place a washable towel underneath them. Good light makes it easier to see the nail edges and keep colour away from the surrounding skin. Open a window for ventilation and use a stable surface for your polish so that the bottle cannot tip into your lap.
Gather everything before you start. Hunting through a drawer with freshly painted toes is rarely worth the trouble. Your kit can stay modest:
- Clean toenail clippers and a fine nail file.
- Your usual polish remover and lint-free pads.
- A gentle foot file, if you have rough areas to smooth.
- Moisturiser, base coat, regular colour and top coat.
- Toe separators or loosely twisted tissue.
Remove old polish first, then wash and dry your feet, including between the toes. Clean reusable tools according to their care instructions and let them dry before putting them away afterwards. Replace a worn file that catches instead of smoothing. Keep your kit for your own use, and work only on intact, comfortable skin and nails.
Trim Toenails Carefully and File the Edges
Look at each nail before trimming: they may not all need shortening. If you keep clipping until every toe looks identical, you can easily take too much off the smaller nails. Aim for a neat, comfortable length with a little free edge remaining, rather than cutting right down to the skin.
Trim across the nail with small, controlled cuts. Keep the corners visible instead of digging down either side to create a rounded shape. If a nail is difficult to cut, avoid forcing the clippers or pulling at a partly detached piece. Take your time and use a tool that feels secure in your hand.
Use the file for finishing
Smooth sharp points with a fine file, using light strokes rather than sawing vigorously. Run a fingertip gently along the edge to check for snags. There is no need to buff the entire nail surface until it shines; the aim is a comfortable edge, not a thinner nail.
Leave the cuticle attached and avoid cutting the skin around the nail. You can wipe away loose surface residue during washing without turning a simple pedicure into detailed skin removal.
Treat Rough Skin Gently
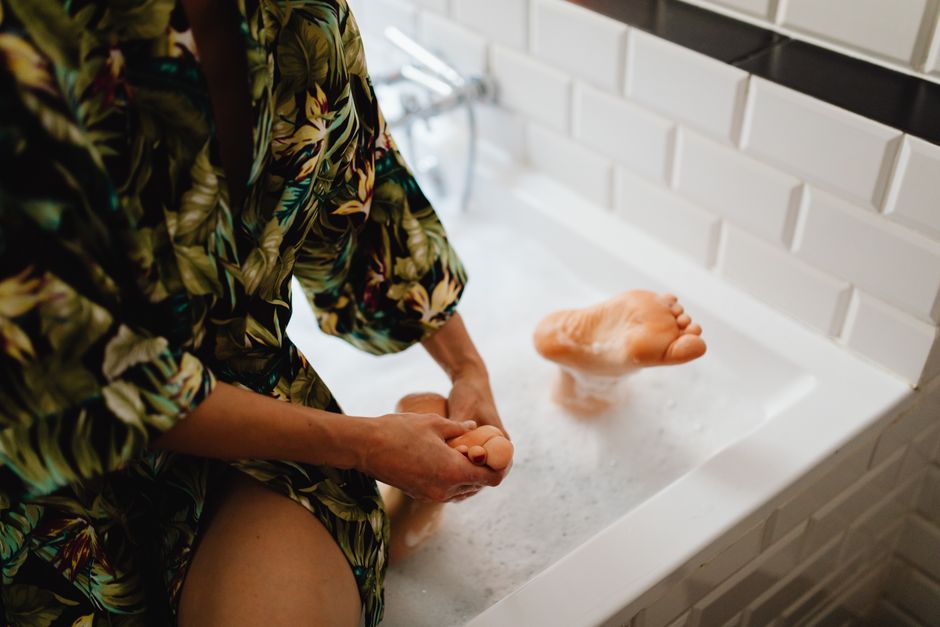
For rough heels, begin with a brief wash or soak in comfortably warm water, then follow your foot file’s instructions about using it on wet or dry skin. A long soak is unnecessary. You want to soften the task, not keep your feet in water until the skin looks wrinkled and delicate.
Use a few light passes over thickened, intact areas and pause to feel the surface. Stop once it feels a little smoother. Trying to remove every trace of texture in one sitting can leave your heels tender when you put your sandals back on. Avoid blades, aggressive scraping and filing over cracks or sore patches.
Rinse away any residue and dry your feet thoroughly. If the skin already feels smooth enough, skip the file altogether. A pedicure does not become more effective because you include every possible step, and regular gentle care is easier to fit into your week than an occasional marathon session.
Choose your next footwear with comfort in mind. A strap that rubs across the same area all afternoon will undo the pleasant feeling of freshly cared-for feet, whatever colour is on your nails.
Keep Moisturiser Away from the Nail Surface
Massage a small amount of moisturiser over your heels and the tops and soles of your feet, allowing it to settle before standing. Avoid leaving a slippery layer underneath your feet, and keep the spaces between your toes dry. You can save extra cream for another evening if you are keen to start painting.
Polish needs a clean nail surface. After moisturising, remove any cream or oily residue from each nail with a lint-free pad and a suitable polish remover, following its directions. Concentrate on the nail rather than repeatedly wiping the surrounding skin. Let the surface dry completely.
If you prefer, reverse the order: prepare and paint the nails first, then moisturise later once the polish has properly hardened. That can be easier than trying to keep creamy fingertips away from every nail. Either way, avoid applying cuticle oil immediately before colour.
Place your separators so they gently prevent toes from touching. They should not stretch your toes uncomfortably or press against the nail edges. Rest your foot on the towel and check that you can reach the smallest toe without twisting your ankle.
Apply Regular Polish in Thin Coats
Start with a thin base coat, using the drying guidance on the bottle. Wipe excess product from the brush before touching the nail; small toenails need very little. Leave a narrow gap around the skin so that each layer stays on the nail rather than pooling at the edges.
For colour, place the brush slightly forward of the cuticle, guide it carefully towards the base without touching the skin, then draw it towards the tip. Add a stroke on either side if the nail is wide enough. One small stroke may cover a little toenail. Let the first coat settle before deciding how much more coverage you need.
A coral, rose or berry shade can look lovely with late-summer sandals, but use a colour you already enjoy. A sheer pink is forgiving if you are practising, while an opaque shade makes missed edges easier to see. Build coverage with thin coats instead of one thick layer.
Finish with top coat as directed. Tidy a small mistake using a precision cotton bud lightly dampened with remover, keeping it clear of the painted nail. Avoid flooding the area or repeatedly reworking colour that has started to set.
Allow Drying Time Before Putting Shoes On
Touch-dry polish can still dent under a sock or sandal strap. Follow the product’s guidance and leave yourself extra time before closed shoes, bedcovers or anything that presses against the nails. Thin coats help, but they do not make drying instantaneous.
Use this pause for something that keeps your feet still: read a few chapters, listen to a programme or catch up with a friend. Avoid testing the surface repeatedly with a finger. If you must walk around, take care on smooth floors and keep fabric away from the fresh finish.
Once the polish has hardened, moisturise as needed between pedicures and inspect small chips before adding more colour. A minor tip chip can take a light touch-up; several thick, uneven layers are usually better removed. Your finished pedicure should feel comfortable and easy to live with, ready for whichever sandals the remaining summer days call for.