Soft Pastel Nails at Home for the First Days of Spring
A pale lilac or soft blue manicure is a small way to welcome spring while your coat is still firmly in use. Pastel polish can show brush marks more readily than deeper colours, so the trick is to build a smooth finish patiently. Clear a little table space, gather your regular polish supplies and give yourself time to work without immediately reaching for your keys.
Choose a Pastel Shade You Enjoy Wearing
Start with a colour you would happily see beside your everyday clothes. If your wardrobe is mostly navy and denim, powder blue may feel easy to wear. Lilac, soft pink, pale peach and muted mint offer different moods without needing nail art or a collection of extra products.
Look at the polish in daylight where possible. A shade that appears creamy indoors may look brighter near a window. You can hold the bottle beside your hand to get a rough impression, but the finished colour will depend on the formula and the number of coats.
For a first attempt, use one shade across all your nails. It keeps the process manageable and makes later touch-ups simpler. Choose ordinary air-drying nail polish with a compatible base and top coat; this routine does not need a curing lamp.
Before you begin, check the polish brush and texture. Roll the closed bottle gently between your hands to mix the colour. If the polish has become thick and stringy, it will be harder to apply evenly. Do not pour nail polish remover into the bottle; use a suitable polish thinner only as its instructions direct.
Shape Nails Before Applying Polish
Remove any old polish so you can see the nail edges clearly. Choose a length that fits your daily tasks, especially if you spend a lot of time typing, cooking or working with your hands. Pastels look lovely on short nails, and a manageable length makes the application less fiddly.
Use a fine nail file with light pressure to smooth the free edge. A softly rounded or gently squared shape is easy to maintain at home. Work gradually and compare the nails as you go instead of filing one very short and trying to make all the others match it.
Make the outline comfortable
- Smooth corners that catch on fabric.
- Check the edge from the front as well as above.
- Avoid digging the file into the sidewalls.
- Leave the skin around the nail intact rather than trimming it for a neater outline.
Brush away filing dust when you finish. If a nail already feels thin, leave its surface alone rather than buffing it in pursuit of a perfectly flat base. Careful polish application can create a tidy result without removing more of the nail.
Prepare a Clean and Dry Nail Surface
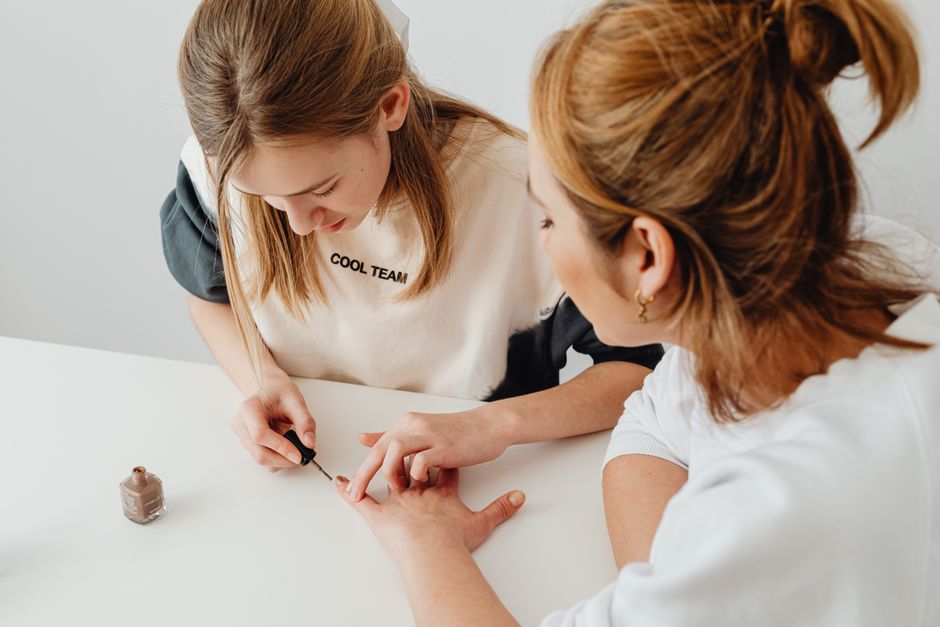
Set up your work area before opening the colour. Put a washable protective mat on the table, arrange your bottles within reach and have remover, a small cleanup brush and lint-free pads ready. Good light helps you see the border of each nail before polish strays beyond it.
Wash your hands to remove dust and everyday residue, then dry them carefully, including the sides of each nail. Avoid a long soak just before painting. If you have used hand cream or cuticle oil, remove the oily film from the nail plate with a little remover on a pad, following the product directions.
Rest your forearms on the table rather than holding both hands in the air. Place the hand you are painting flat, with fingers slightly separated. This gives you a steadier surface and keeps freshly painted nails from touching each other.
Apply a thin layer of base coat and let it dry as directed. Cover the nail evenly without pooling product at its edges. Keep bottles capped between stages where practical, and choose a space with fresh air, away from flames. Now you have a clean surface and everything close enough to reach without rummaging through a drawer.
Build Colour with Thin Coats
Load the brush, then wipe excess polish from one side against the inside of the bottle neck. You want enough colour for the brush to glide, without a large bead that will spread into the skin. Start with your little finger if that helps you avoid reaching over wet nails.
Place the brush a little short of the cuticle, ease it gently towards the base without touching the skin, then draw it towards the tip. Add a stroke down each side. Use as few passes as you comfortably can; repeatedly brushing a partly setting layer can pull it into ridges.
The first pastel coat may look translucent or slightly streaky. Let it dry according to the polish instructions before adding the next thin coat. Resist the urge to fix every pale patch immediately with extra polish, which can leave thick areas surrounded by thinner ones.
Assess the second coat in the same light. Some shades need another thin layer for an opaque finish, while others are designed to remain sheer. Follow the formula rather than a fixed number of coats. If a patch drags, stop brushing and let the layer settle before deciding whether it needs more colour.
Tidy the Edges Without Flooding Cuticles
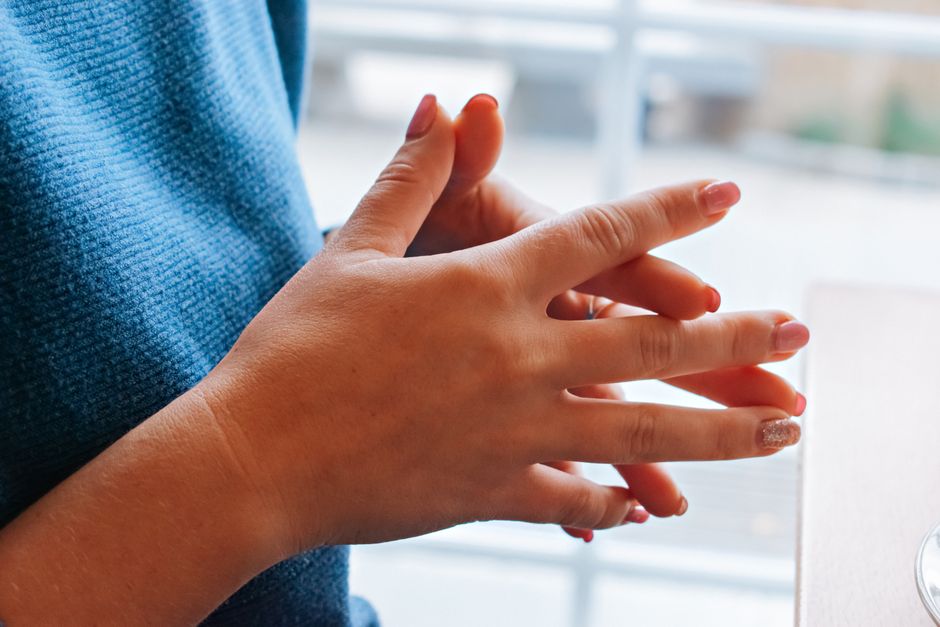
A small, even gap between the polish and surrounding skin usually looks tidier than colour pushed all the way to the edge. You can leave that gap deliberately. It is particularly helpful with pale shades, where a thick ridge near the cuticle can be more noticeable than a narrow bare border.
For a stray mark, dip your cleanup brush into remover and blot off excess on a pad. Use the tip to trace the skin beside the nail, keeping the brush away from the painted surface. Wipe the brush on the pad between passes so you do not spread dissolved colour around.
Work slowly along one small area at a time. A brush dripping with remover can flood the edge and spoil the colour you have just applied. If your hands are unsteady, rest the little finger of your working hand on the table for support.
Once the colour is ready for its finishing layer, apply your compatible top coat with a light touch. Cover the polish evenly and, if the nail length allows, skim a little across the free edge. Avoid pressing so hard that the brush pulls at the colour underneath.
Give Polish Time to Set and Touch Up Chips
Surface dryness does not always mean the layers underneath have hardened fully. Follow the drying guidance on your products, and leave a generous quiet stretch afterwards. Put on your comfortable clothes and open anything you will need before painting, so you are not testing fresh polish against buttons or packaging.
Save washing-up and other wet chores for later, using household gloves when you return to them. Apply hand cream and a little cuticle oil after the manicure has set, keeping the surrounding skin comfortable without interfering with the painting stage.
If a small chip appears, smooth away any loose polish, dab a little colour into the missing area and let it dry before refreshing the top coat. A large lifted patch is usually easier to remove and repaint on that one nail than to cover with several more layers.
Your first pastel manicure need not be perfectly opaque or salon-symmetrical to look lovely. A neat shape, light coats and a patient finish give the colour room to shine, even on an otherwise grey March afternoon.