
Beginner Embroidery Projects for Cosy Autumn Evenings
A small embroidery hoop is a lovely companion for an October evening when the curtains are closed and you want something to do with your hands. You can make a recognisable leaf or a useful bookmark with two simple stitches and a handful of supplies. Start with a project small enough to finish over a few sittings, and let your first uneven stitches be part of learning the feel of the fabric.
Start with a Small Hoop and Plain Cotton
A hoop around 10 to 15 centimetres across gives you a manageable working area. Choose plain woven cotton that feels stable rather than stretchy, and avoid very thin fabric for your first attempt. An offcut of medium-weight cotton is useful if it has no coating and you can push a needle through it comfortably.
Cut a square with several centimetres of spare fabric beyond the hoop on every side. If you plan to wash the finished item, wash and press the fabric before stitching. Loosen the outer ring, lay the cotton over the inner ring and press the outer ring down over both. Tighten gradually, smoothing the fabric until it is taut without pulling the weave out of shape.
- A small wooden or plastic embroidery hoop.
- Plain cotton and a sharp embroidery needle with a suitable eye.
- Stranded embroidery cotton in a few colours.
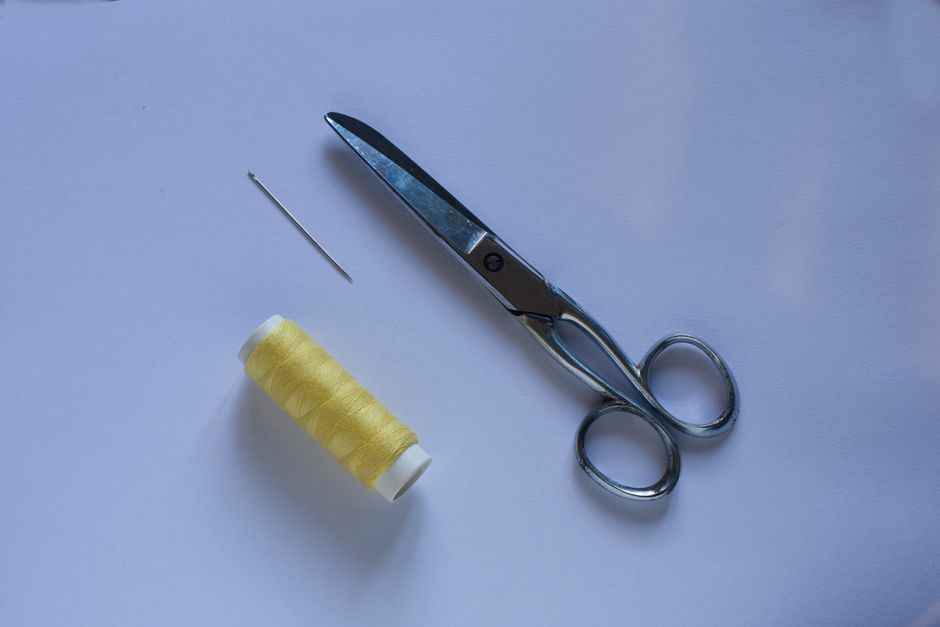
- Small scissors and a fabric-marking tool that suits your cotton.
- A needle case and a shallow tray for keeping everything together.
Position a lamp so your hand does not cast a heavy shadow over the stitching. Sit with your shoulders relaxed and bring the hoop towards you rather than bending over it. A few comfortable minutes will teach you more than an hour spent squinting at dark fabric.
Choose a Few Thread Colours
Three colours give you plenty to play with. For an autumn leaf, try rust, mustard and olive on cream cotton. For a quieter result, use two greens and a warm brown. Lay short lengths against the fabric before deciding: a thread that looks distinct on its own may disappear against a similarly coloured background.
Most stranded embroidery cotton separates into six fine strands. Two strands are a useful starting point for small outlines; three produce a fuller line. Cut roughly 40 centimetres, separate out one strand at a time, then bring the number you want back together. Separating them first helps them lie more smoothly and reduces twisting.
Thread the needle with a short tail through the eye, leaving most of the working length on the other side. Do not tie both ends together as you might for ordinary sewing: you want to stitch with your chosen number of strands, not double them accidentally. A small knot at the long end is a straightforward beginner’s start.
Long thread can feel economical until it tangles repeatedly. Use shorter lengths while you learn, and let the needle hang freely now and then to unwind a developing twist. Keep spare colours wound loosely on bobbins or folded card so they remain easy to separate.
Practise Running Stitch and Backstitch
Draw two short lines on a spare corner using a removable fabric marker. Test the marker on an offcut first, including its removal method. Avoid ordinary pens: a faint mark can remain visible through pale thread after the stitching is finished.
Running stitch for dotted lines
Bring the needle up from the back at the start of your first line. Take it down a few millimetres ahead, then bring it up again after a similar gap. Repeat to make a row of small dashes. Work one stitch at a time initially so you can see how much tension you are using. The thread should rest on the surface without gathering the cotton.
Backstitch for a continuous outline
Bring the needle up one stitch length ahead of the start of your second line, then take it down at the starting point. Come up one stitch length beyond your first emergence point. Stitch backwards into that first emergence point, filling the gap. Continue by coming up ahead and stitching back into the end of the previous stitch.
Try a straight line, then a gentle curve. Use shorter stitches around bends so the outline looks rounded rather than angular. If a stitch pulls the cloth into a dimple, ease it before continuing. To finish a thread, pass the needle beneath a few stitches on the back without piercing the front, then trim the remaining end.
Make a Simple Leaf Motif
For your first little picture, choose a leaf shape about five centimetres long. Draw a gently curved centre line and an oval outline that narrows to a point at each end. Add three or four short side veins. Keep generous space around the design so the needle can move easily near the hoop edge.
- Backstitch the outer shape in rust or olive.
- Stitch the centre vein in a contrasting shade.
- Add the short side veins, making smaller stitches near their tips.
- Use a few running stitches beside the leaf if you want extra detail.
You can leave the centre unfilled. An outline gives you a clear finished result without requiring a new stitch or a large block of colour. Turn the hoop as you work to approach each curve from a comfortable angle, and check occasionally that you have not caught spare fabric underneath.
If you dislike one section, slide the needle out of the thread and gently unpick those stitches from the back. There is no need to undo the whole leaf. Once finished, remove the marking according to its instructions before pressing; heat can make some marks difficult to remove. Let the fabric dry fully.
Try a Small Geometric Bookmark
A bookmark gives your practice stitches an everyday purpose. Mark a rectangle roughly five by eighteen centimetres on a larger piece of cotton, leaving room around it for the hoop. Keep the embroidered design about a centimetre inside the rectangle so you have space for finishing later.
Draw three small diamonds down the middle, or make two parallel lines joined by short diagonal strokes. Backstitch produces clear geometric edges, while running stitch makes a softer dotted border. Use two colours and repeat them in a simple order rather than changing thread at every corner.
Finish the stitching and remove the fabric from the hoop before cutting out the rectangle. Turn each raw edge under by about half a centimetre and press gently from the back over a clean towel. Cut a piece of felt slightly smaller than the resulting bookmark, position it on the back and sew around the edge with small running stitches through both layers.
The felt covers the loose ends and adds enough body for the bookmark to handle comfortably. Keep knots and decorations flat so they do not make a lump between pages. Slip it into your current paperback and you have a useful reason to begin a second one.
Finish the Back and Store Your Supplies
If your leaf will stay in its hoop, centre it carefully and tighten the screw. Trim the surplus cotton to leave a border of a few centimetres. Sew a running stitch around that border, pull the thread to gather the fabric behind the hoop and secure it. A circle of felt can cover the gathered back if you prefer a neater finish.
For work in progress, loosen or remove the hoop between sessions to reduce lasting creases. Put the needle into a closed case, coil thread neatly and store scissors with the supplies. A tray or small pouch lets you clear the sofa without losing the next evening’s starting point.
Finish one small piece before expanding your kit. A leaf with slightly irregular veins or a bookmark with handmade corners is still something you created, stitch by stitch, on an ordinary autumn evening.